Rev.Zero
Dodge Viper Coolant/Antifreeze Bleed Valve (Gen 2)
Dodge Viper Coolant/Antifreeze Bleed Valve (Gen 2)
Couldn't load pickup availability
Bleed Valve to fit Gen 2 (1996-2002) Dodge Viper thermostat housings. This allows filling of the cooling system without excessive and troublesome burping and bleeding processes afterwards. After installing this valve, you can then follow the factory service manual procedure, but without the risk of stripping out the original plug in the thermostat housing.
Compatible with:
Gen 2 (SR II) 1996-2002 Dodge Viper RT/10, GTS, ACR
Included parts:
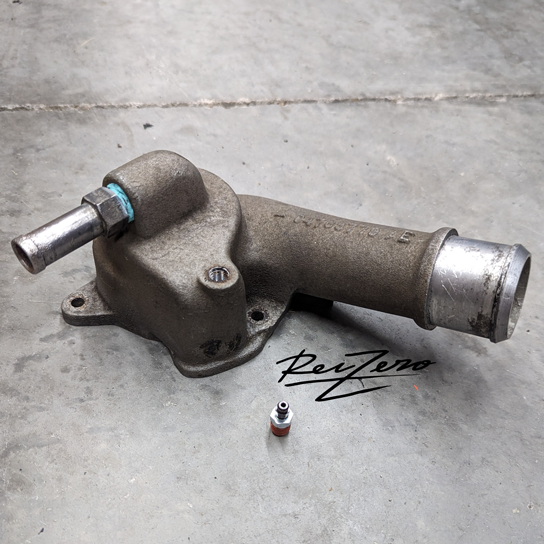
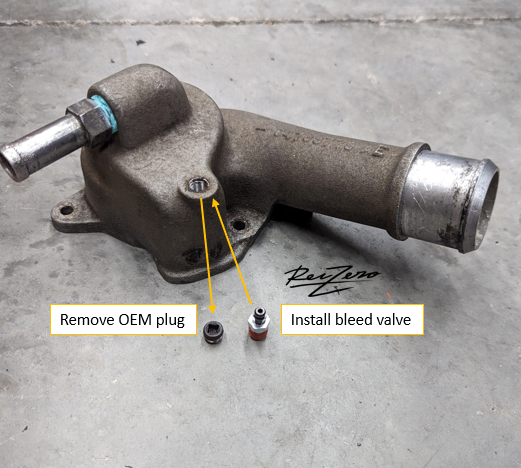
1 bleed valve assembly (2 parts, pictured. Outer part threads into thermostat housing, and inner part is a bleed valve with nipple similar to a brake caliper bleed valve).
Detailed instructions, including recommendations to make stripping out the original plug as unlikely as possible.
Description & Recommendations:
It is recommended to install this bleed valve in conjunction with a thermostat and/or thermostat gasket installation job, as it does require removal of the intake manifold to access the thermostat housing for the bleed valve install (to save on repeat labor)
Factory 8.0L Viper engines came with a plug on the top of the cooling system where the thermostat and upper radiator hose is housed. This is bolted to the top front of the engine, under the intake manifold.
The plug is notorious for stripping out and Viper techs have avoided using it for that reason. Without this valve at the highest point in the cooling system, other burping and bleeding methods have to be used, such as leaving heater hoses disconnected, jacking up the front of the car excessively, using a vacuum filler, etc.
This kit is a bleed valve that threads into the housing, allowing easy bleeding without fear of stripping the threads in the housing like when using the OEM plug.
However, you do have to remove the OEM/original plug once to install the bleed valve! So I suggest doing this when you have the intake manifold off and are changing the thermostat anyway. If the OEM plug does strip out, it's easier to drill out without damaging the original housing threads with it out of the car (the original housing threads must be preserved for this bleed valve to install correctly).
Tools required:
Torque wrench with a torque range within 0-150 in*lb (not ft*lb)
10mm deep socket or flare nut wrench
1/4" flare nut wrench
3/16" square pipe plug male socket (For removal of original plug) -- recommend impact grade)


